
Featured collection
-
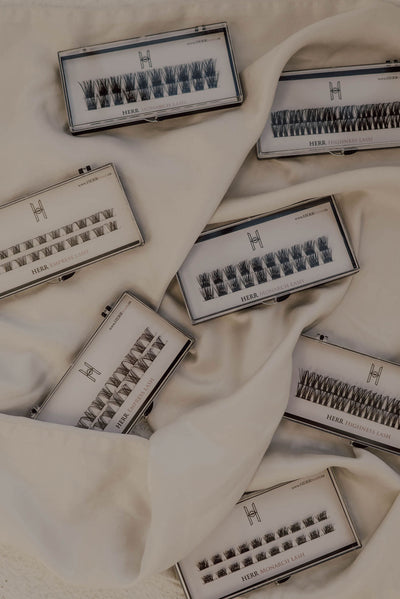
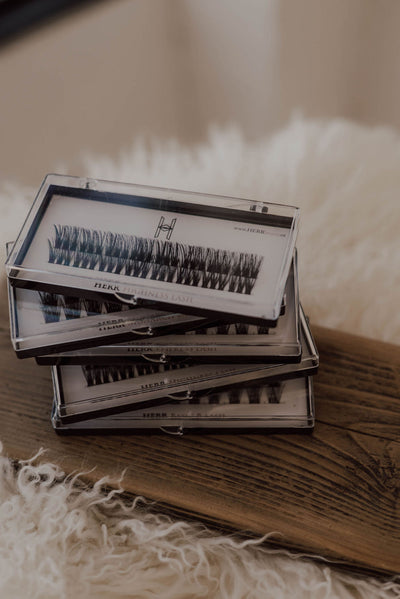
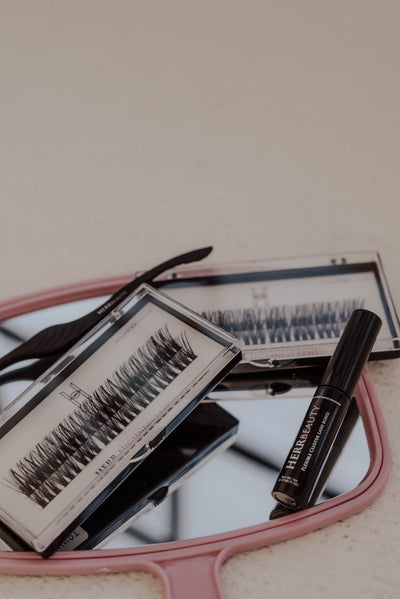
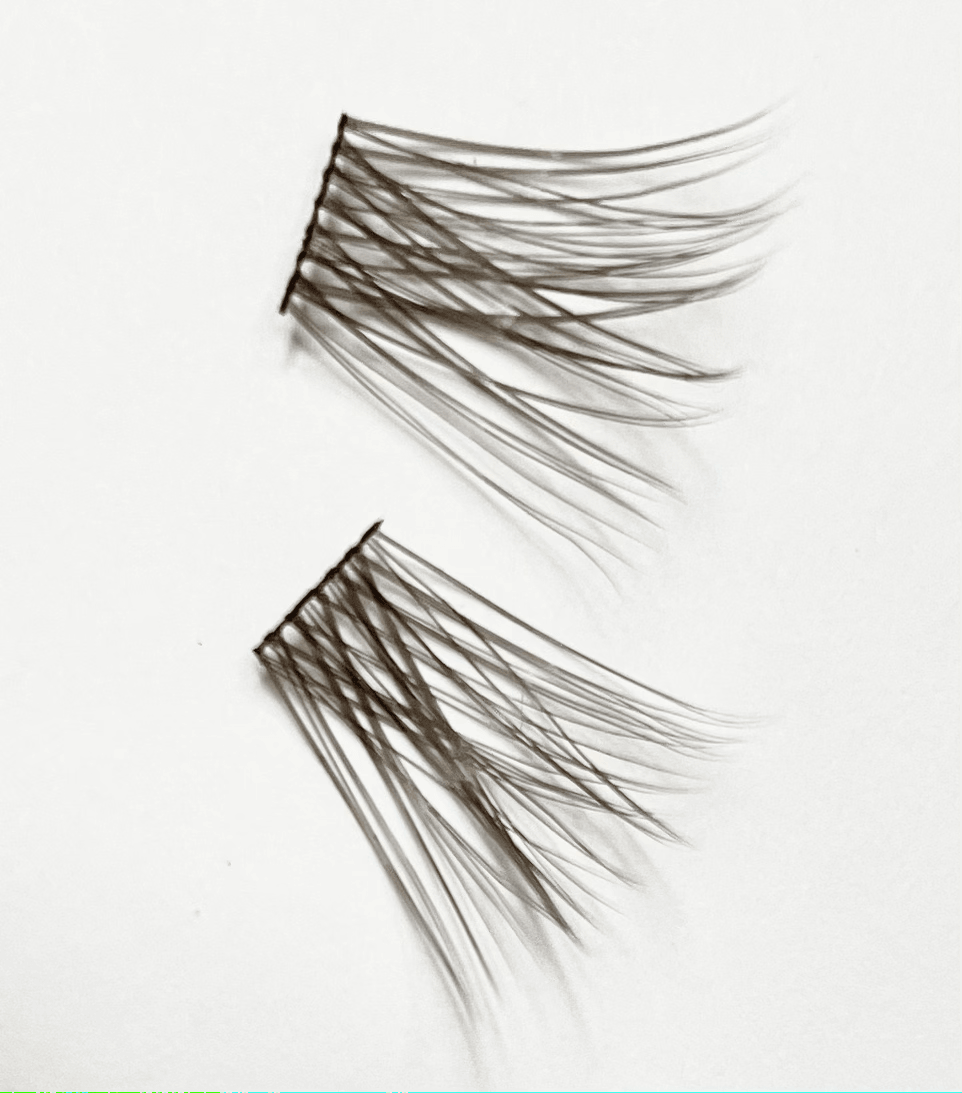
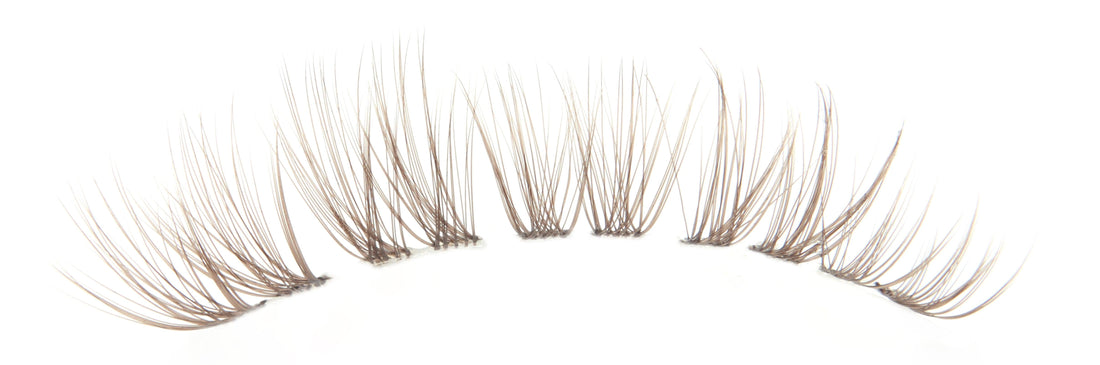
 HERR Basic B Lash - BrownHERR Basic B Lash - Brown
- Prix normal
-
$7.00 CAD $9.00 CAD - Prix normal
-
- Prix de vente
-
$7.00 CAD $9.00 CAD
Vue rapide
-
 HERR Busy B Lash - BrownHERR Busy B Lash - Brown
- Prix normal
-
À partir de
$7.00 CAD - Prix normal
-
$19.00 CAD - Prix de vente
-
À partir de
$7.00 CAD
Vue rapide